

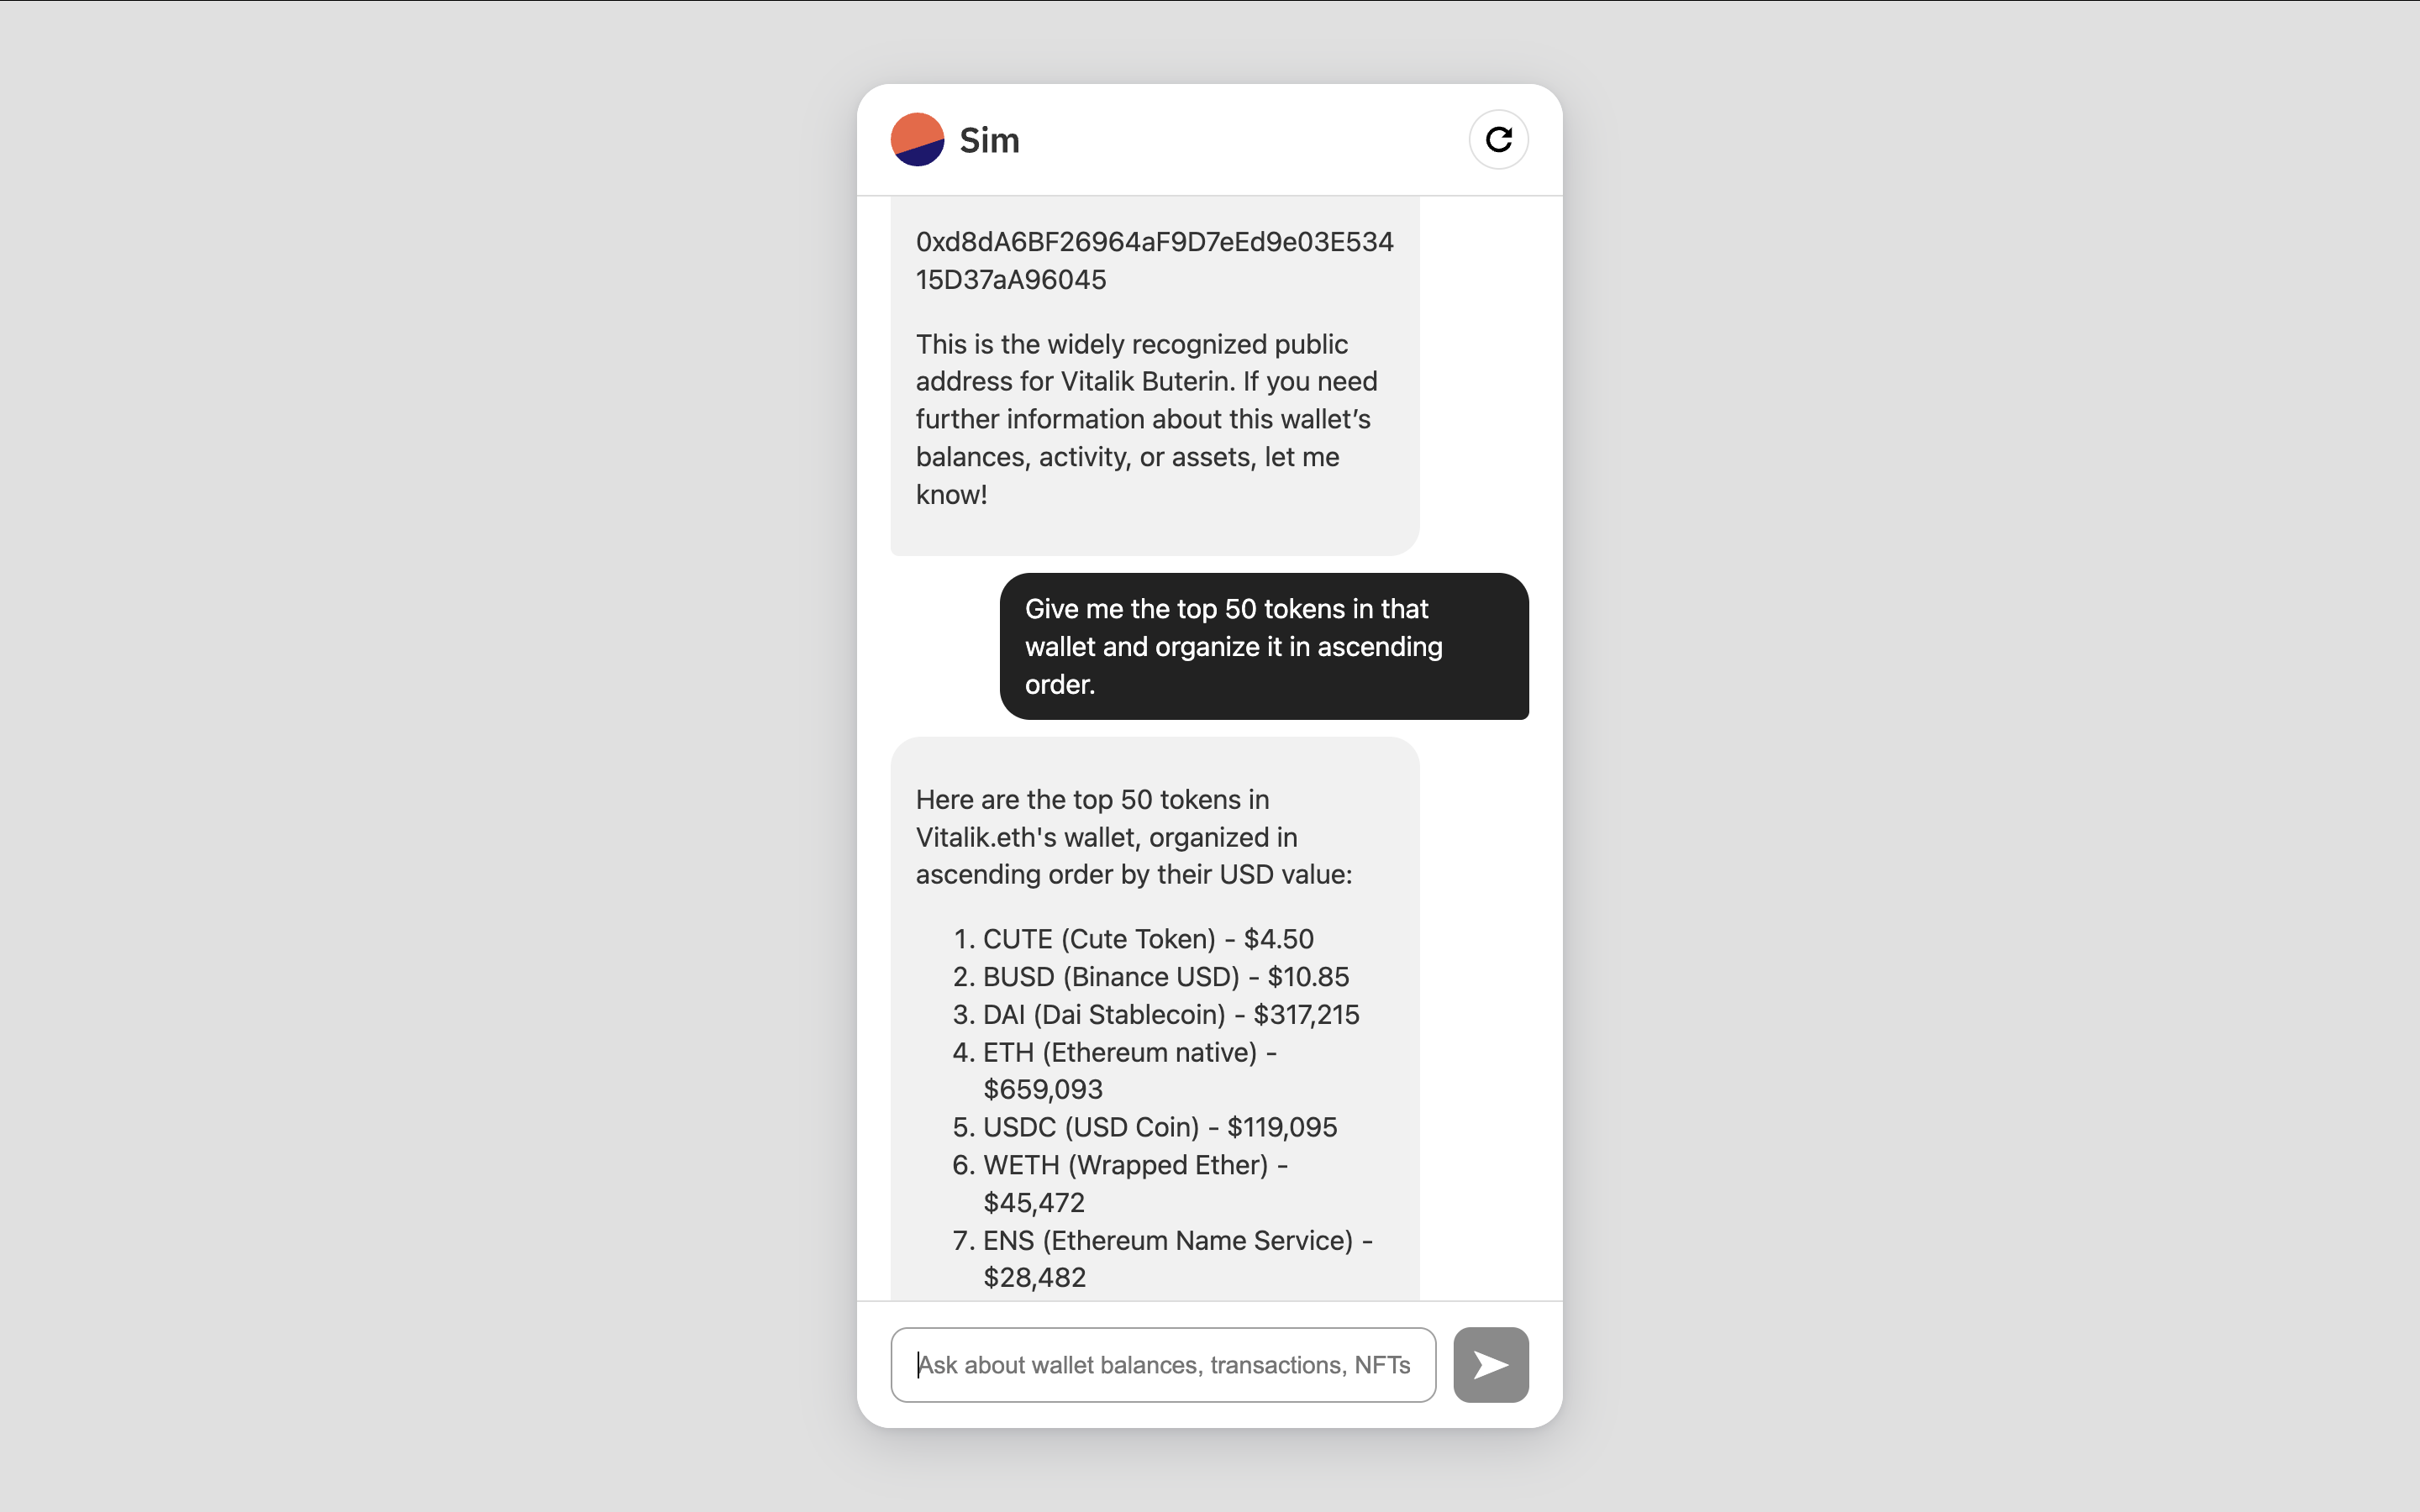
The Simchat interface we'll build - a conversational assistant for blockchain data
View Source Code
Access the complete source code for Simchat on GitHub
Try Live Demo
Chat with the finished assistant
Prerequisites
Before we begin, ensure you have:- Node.js >= 18.0.0
- A Sim API key
- An OpenAI API key
Get your Sim API Key
Learn how to obtain your Sim API key
Features
When you complete this guide, your chat agent will have these capabilities:OpenAI Function Calling
Automatically triggers API requests based on user queries using OpenAI’s function calling feature
Multichain Token Balances
Retrieves native and ERC20/SPL token balances with USD values for any wallet address across EVM chains and Solana
Transaction History
Displays chronological wallet activity including transfers and contract interactions on EVM networks
NFT Collection Data
Shows ERC721 and ERC1155 collectibles owned by wallet addresses across supported EVM chains
Token Metadata
Provides detailed token information, pricing, and holder distributions for EVM and Solana tokens
Chat Interface
Users ask questions in plain English about blockchain data, no technical knowledge required
Try the Live Demo
Before diving into building, you can interact with the live chat agent app below. Try these example questions:- What tokens does vitalik.eth have?
- Show me the NFTs in wallet
0xd8da6bf26964af9d7eed9e03e53415d37aa96045 - What’s the price of USDC?
- Get token balances for
DYw8jCTfwHNRJhhmFcbXvVDTqWMEVFBX6ZKUmG5CNSKKon Solana
Project Setup
Let’s start by creating the project structure and installing dependencies.1
Create Project Directory
Open your terminal and create a new directory:Initialize a new Node.js project:
2
Install Dependencies
Install the required packages:These packages provide:
- express: Web server framework
- openai: Official OpenAI client library
- dotenv: Environment variable management
3
Configure Environment Variables
Create a Add your API keys:
.env file in your project root:.env
4
Add Starter Code
Create the main app files:The Add the initial frontend template to
server.js file will handle our backend Express server and API logic, while chat.html contains our frontend chat interface.Populate the server.js with this basic Express code:chat.html:5
Verify Project Structure
Your project structure should now look like:
node server.js in the terminal to start the server.
Visit http://localhost:3001 to see the newly scaffolded chat app.
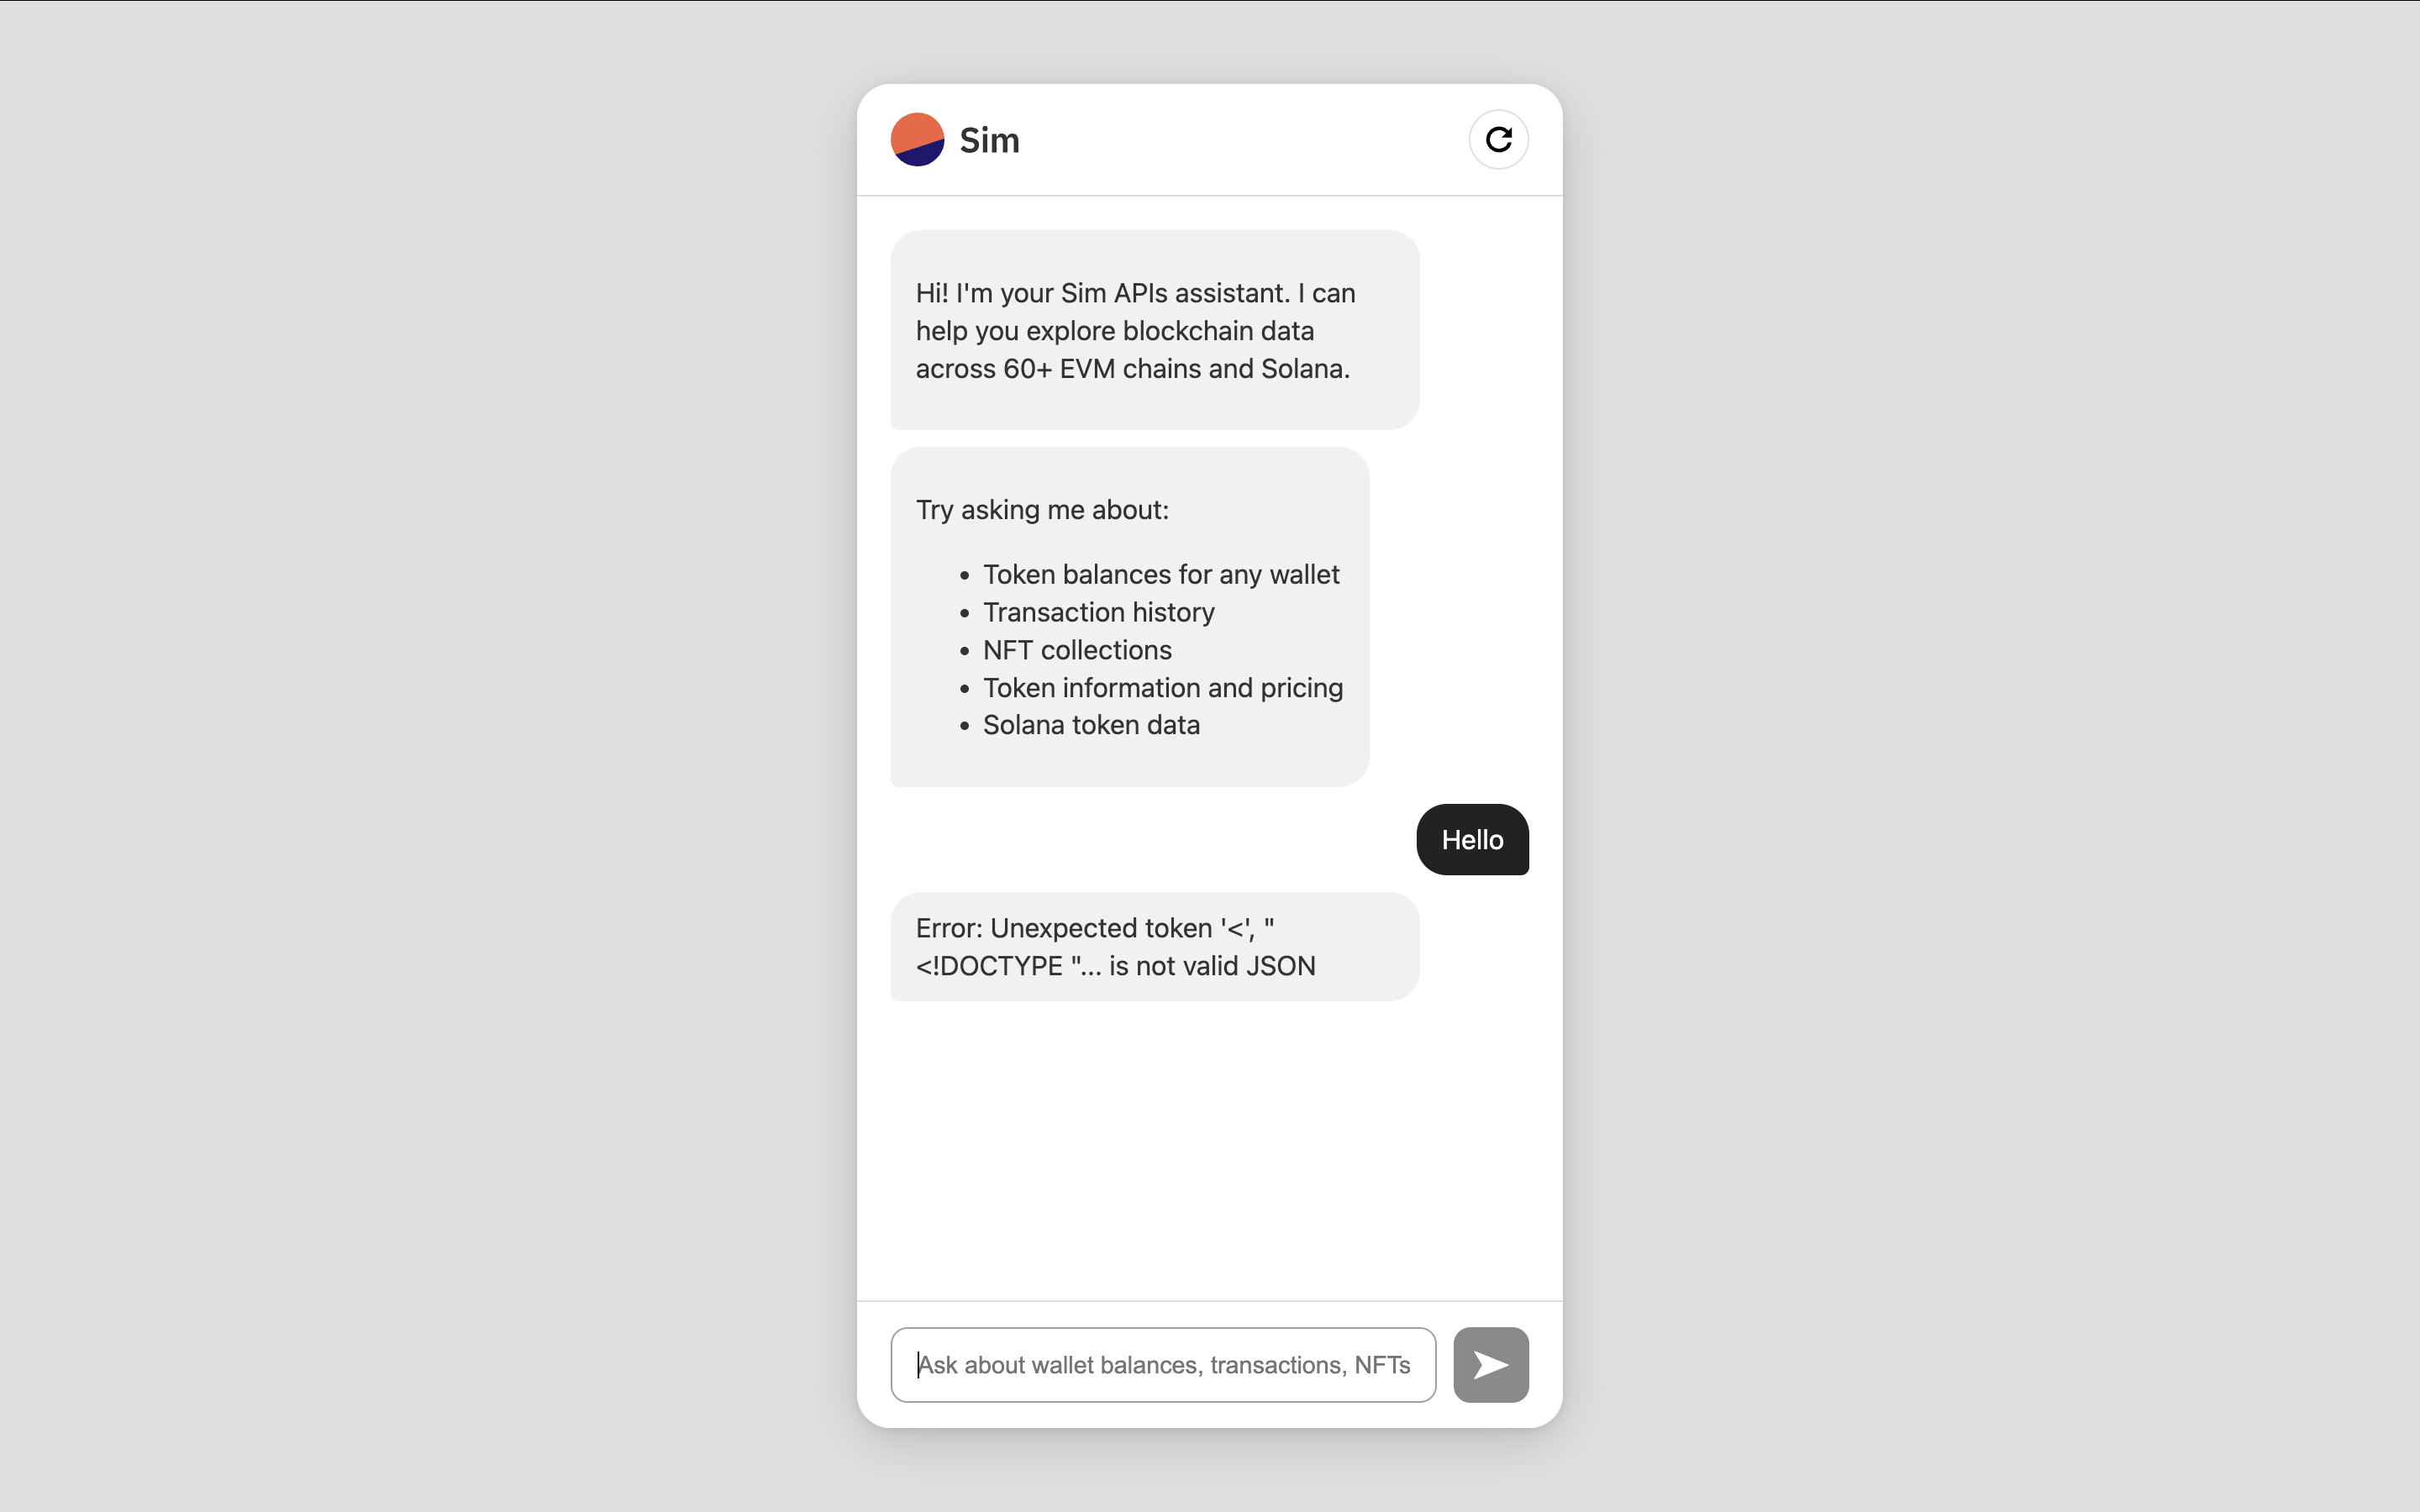
Our newly created chat front-end UI is ready.
Add OpenAI LLM Chat
Now let’s add the core chat functionality to our Express server using OpenAI’s GPT-4o-mini. We’ll start by defining a system prompt that instructs the LLM on its role and capabilities. Add thisSYSTEM_PROMPT variable to your server.js file:
(server.js)
/chat endpoint will receive POST requests from our frontend chat interface, process them through the LLM, and return responses to display in the chat:
node server.js again and visit http://localhost:3001.
You’ll have a working chat interface powered by OpenAI’s gpt-4o-mini model with a custom system prompt, but it won’t be able to fetch realtime blockchain data yet.
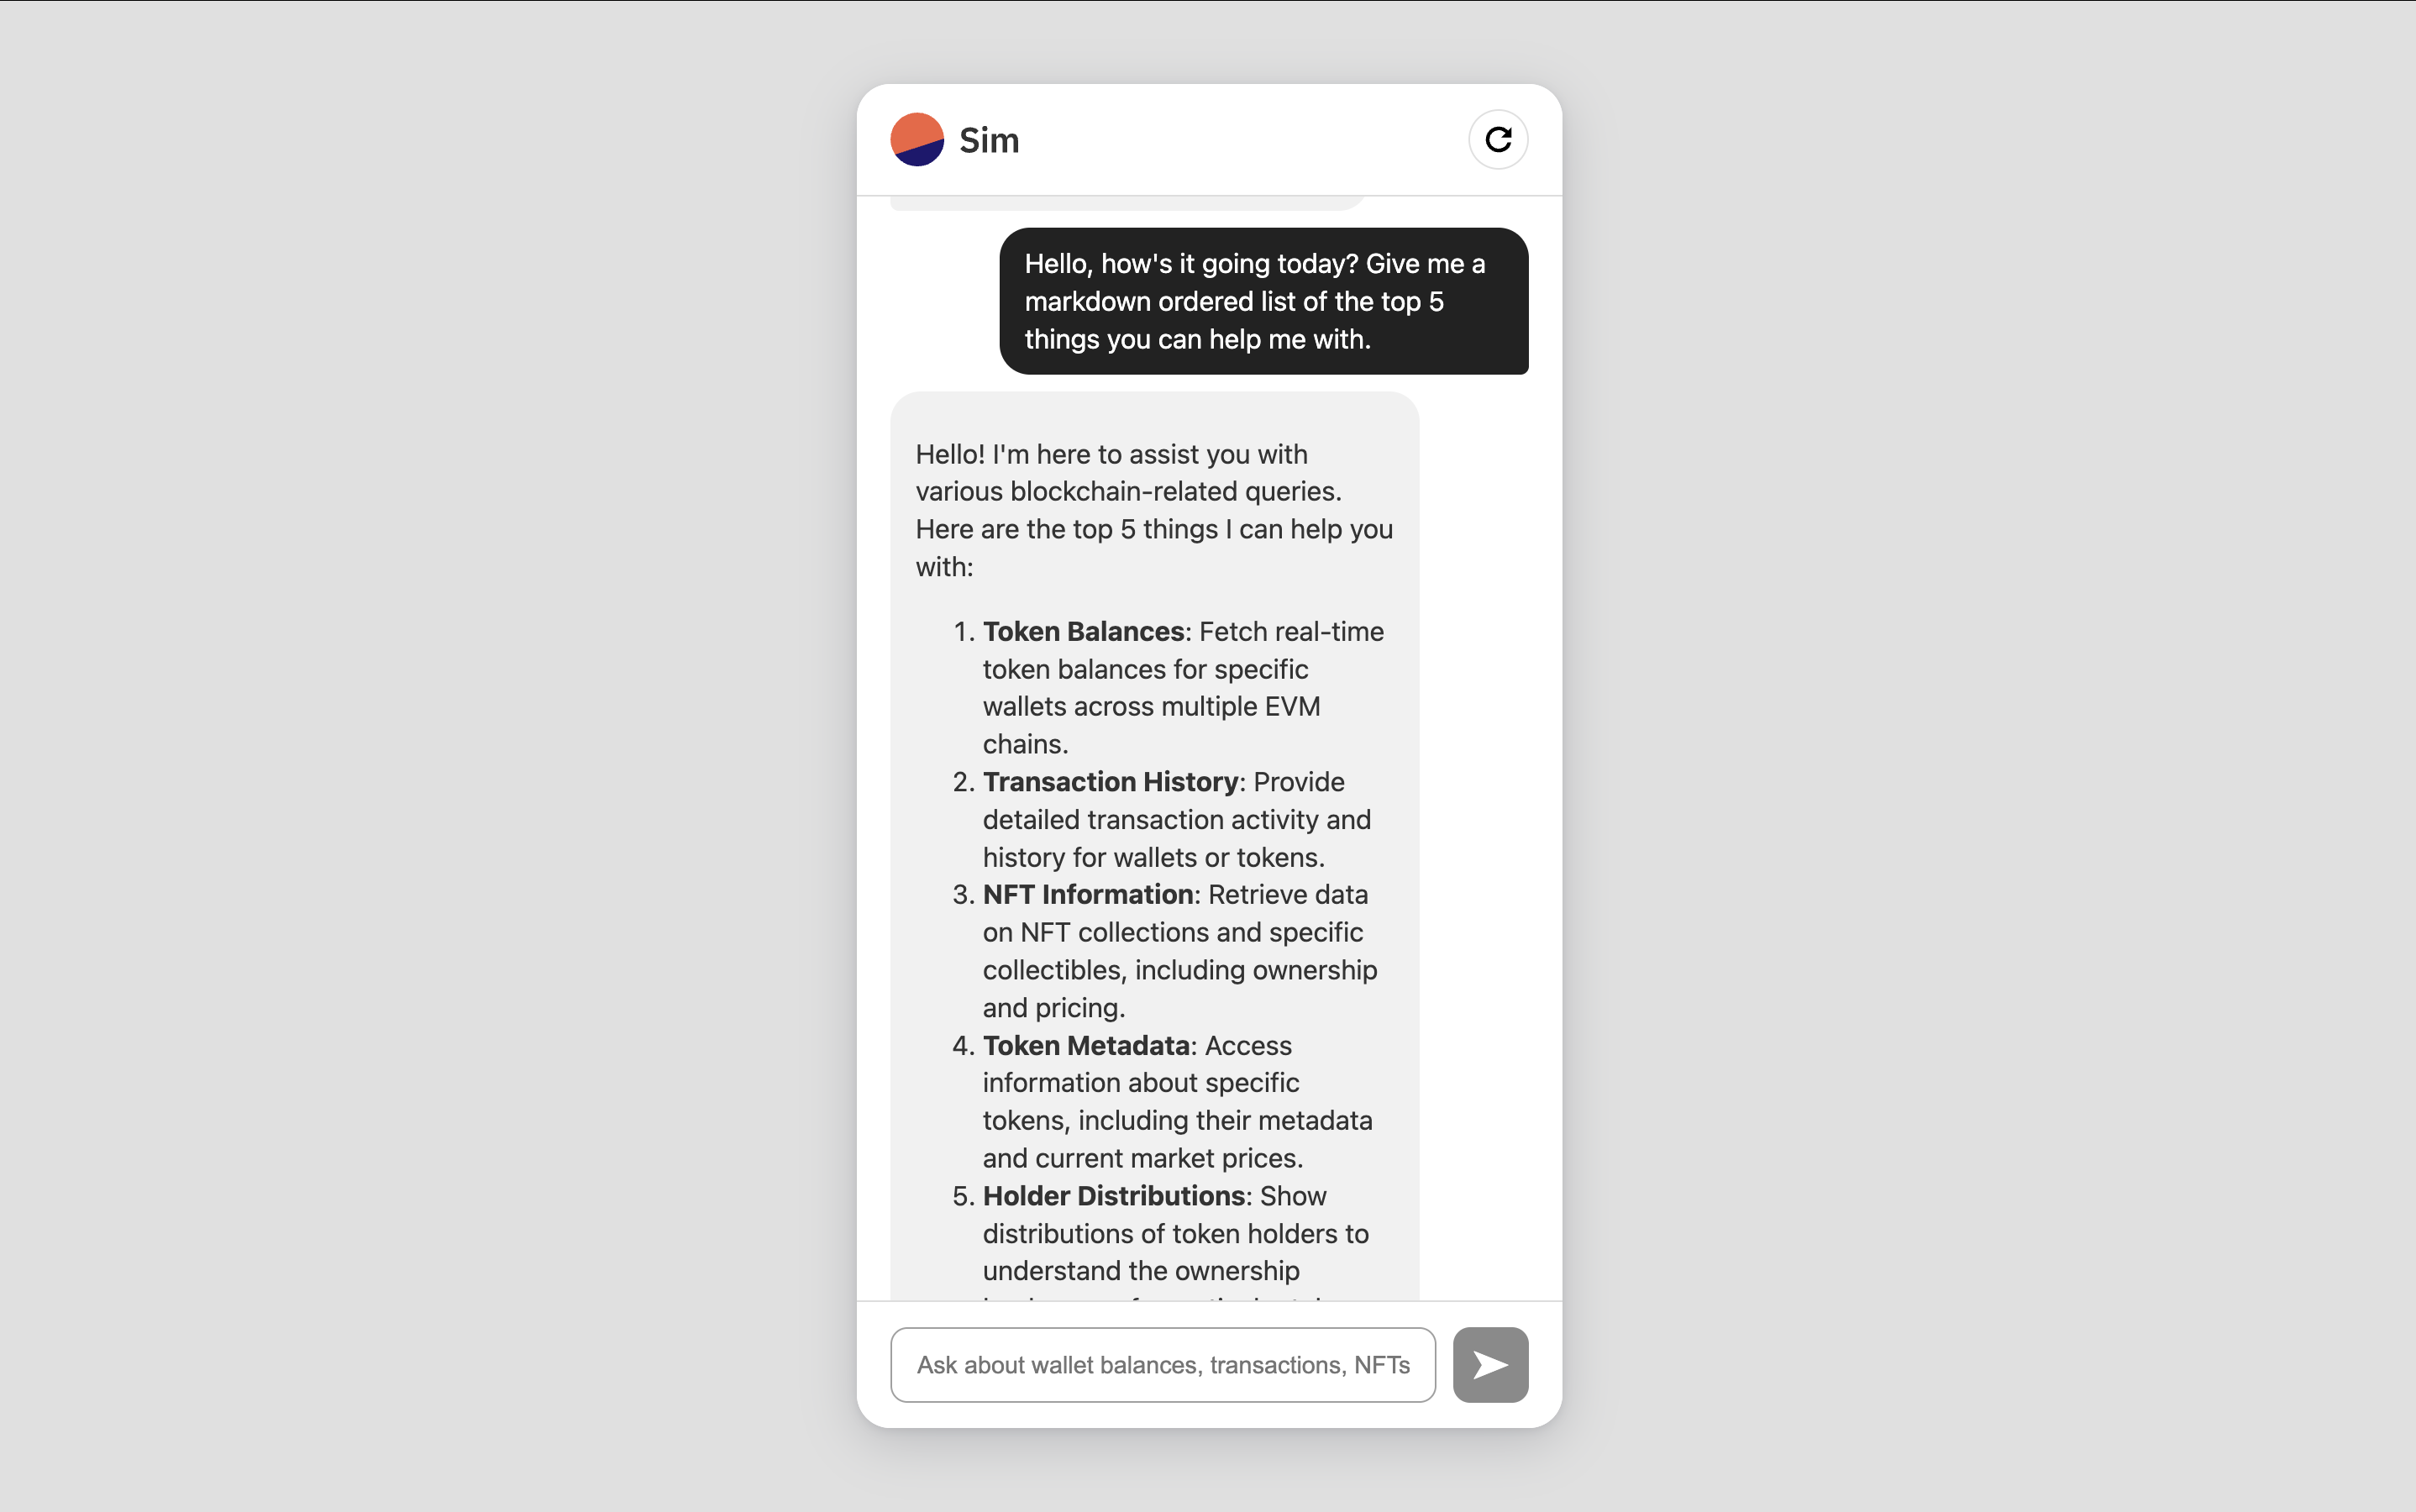
The chat is now working with OpenAI responses, but not yet fetching blockchain data
Define OpenAI Functions
To make our chatbot fetch realtime blockchain data, we need to use OpenAI’s function calling feature. When the model determines it needs external data, it will call one of these functions with appropriate parameters, and we can then execute the actual API call and provide the results back to the model. Add thisfunctions array to your server.js file:
Integrate Sim APIs
Now we need to connect OpenAI’s function calls to actual Sim API requests. When the model calls a function likeget_token_balances, we need to:
- Map that OpenAI function call to the correct Sim API endpoint
- Make the HTTP request with proper authentication
- Return the data back to the model
Build the Generic API Caller
First, let’s create a reusable function that handles all HTTP requests to Sim APIs:- URL construction with query parameters
- Authentication headers
- Error handling
- JSON parsing
Configure API Endpoints
Next, we’ll create a more comprehensive configuration object that handles all the different parameter patterns used by Sim APIs:URLSearchParams for complex query strings, multiple path parameters, and endpoints with no parameters.
Execute Function Calls
Now we need an enhancedcallFunction that can handle both regular objects and URLSearchParams:
API_CONFIGS pattern while properly handling all the different parameter types and patterns used by the various Sim API endpoints.
The apiCall function can handle both URLSearchParams objects (for complex queries) and regular objects (for simple query parameters).
Update the Chat Endpoint
Finally, we need to update our chat endpoint to handle function calls. Replace your existing/chat endpoint with this version that includes function calling support:
Conclusion
You’ve successfully built a realtime chat agent that makes blockchain data accessible through natural conversation. By combining OpenAI’s LLMs with Sim APIs’ comprehensive blockchain data, you’ve created a tool that can instantly fetch and explain complex onchain information across 60+ EVM chains and Solana. This foundation provides everything you need to build your own specialized blockchain chat assistants. Consider extending it for specific use cases like:- NFT Discovery Bot: Integrate marketplace data, rarity rankings, and collection insights
- Portfolio Manager: Include transaction categorization, P&L tracking, and tax reporting features
- Trading Assistant: Add price alerts, technical indicators, and market sentiment analysis
The complete source code on GitHub includes additional features like full session management and enhanced error handling that weren’t covered in this guide
Explore the repository to see the additional features in action.